WinFTM®
configurable user interface
measuring sequences
process control
Manage and evaluate measurement data efficiently.
Whether incoming inspection, quality control or research laboratory – the requirements for good measurement technology software are as different as the application spectrum of the FISCHERSCOPE® X-RAY instruments. To meet all these requirements, WinFTM® offers exactly the features and functions needed for fast measuring, efficient evaluation and professional documentation of the measurement data.
Traceable measurement results.
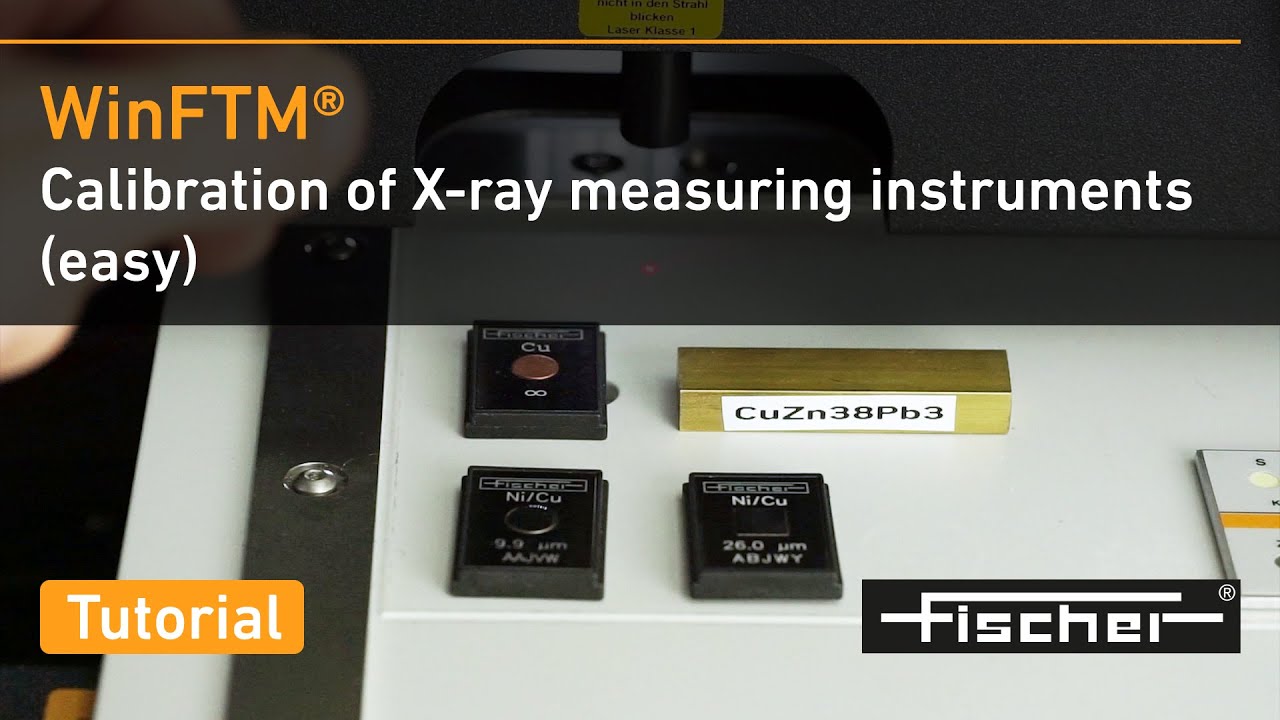
Simple and guided calibration workflow and Fischer calibration standards with DAkkS certificate
Standard-free and accurate measurement.
Coating thickness measurement and material composition based on continuously developed fundamental parameter algorithms
Automated.
Programming and automatic execution of recurring measurement sequences
Convenient evaluation.
Extensive statistical evaluations including statistical process control (SPC)
Direct data export.
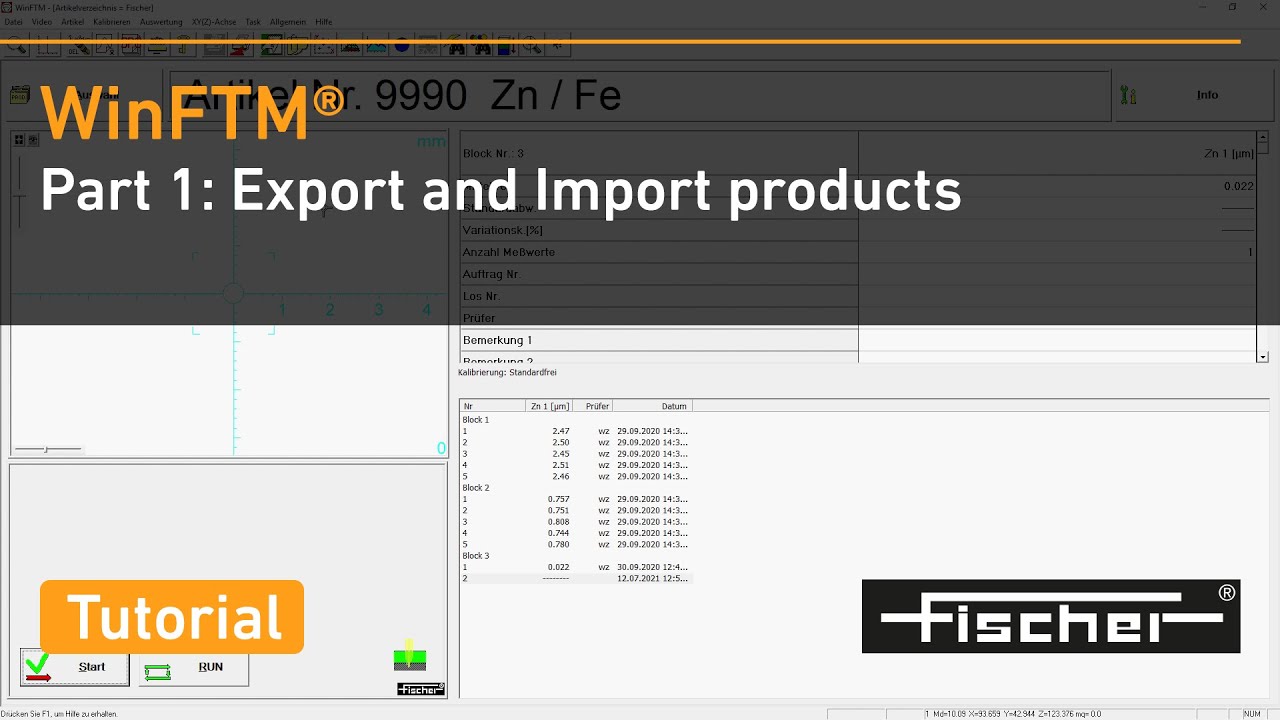
Easy data export to various interfaces, such as quality management systems
Create data reports easily.
Fully customizable reports and creation of individual measurement protocols, with just one click
Functionalities
These and many other features make WinFTM® the most comprehensive XRF software for quality control:
Automatic pattern recognition
WinFTM® has advanced image recognition and pattern recognition technology that enables it to automatically identify predefined structures. This allows you to compensate for deviations in positioning when measuring multiple test parts (such as in piece inspection in manufacturing).
Automatic recognition of the material (substance classes)
Thanks to intelligent material recognition, different test parts with different compositions and layer thicknesses can be sorted into predefined substance classes. WinFTM® can then automatically load the appropriate calibration and measurement parameters for each test part.
Automated measurement processes
WinFTM® enables the programming and automatic execution of recurring measurement sequences. Even complex measuring processes can thus be executed easily and reliably with a click or a keystroke. Instructions for the operator can be clearly displayed on the screen, which further facilitates operation.
Traceable measuring made easy
Thanks to the intuitive calibration functions of WinFTM® and our extensive Fischer calibration standard portfolio, you get reliable and traceable measurement results. WinFTM® supports standard-based calibration with up to 64 calibration standards per measuring task.
Measuring equipment monitoring
WinFTM® supports you with integrated and fully automatable functions for gauge monitoring. Together with our optionally available measuring device monitoring kit, your measuring device checks itself at defined intervals and reliably documents the results.
Standard free measuring
Thanks to our fundamental parameter algorithms, which have been further developed and optimized over the years, our system enables coating thickness determination and material analysis even without calibration with calibration standards. This saves time and increases flexibility in measuring.
Statistical functions including statistical process control (SPC)
WinFTM® offers extensive statistical evaluations such as histograms, probability networks, as well as SPC diagrams including Cp/Cpk calculation. This gives you the possibility to effectively analyze the measurement data and to detect process variations.
Report functions
Our software allows you to easily create protocols with editable protocol header, measurement data, statistical results and more. You can print the reports or export the measurement results in various formats.
Customized measurement protocols
Get the measurement reports with just a few clicks! Thanks to fully configurable templates, you can export measurement results in seconds in the correct format.
Applications
- Up to 24 measured variables simultaneously (a measured variable can be a layer thickness or an element concentration)
- Layer thickness and composition can be measured in parallel
- Area measurement mode
- Measuring up to 24 elements simultaneously
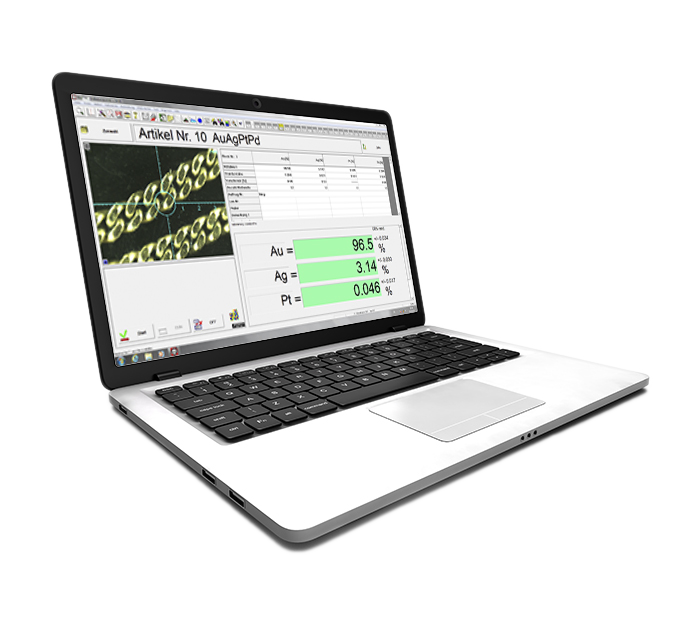
- Gold analysis with indication of results in % or carat
- Trace element analysis for RoHS screening
- Automatic material identification
- Simple traffic light display for pass/fail
- Analysis of unknown bulk materials
- Automatic element identification included
- Measuring of up to 24 elements simultaneously
- Automatic conversion of mass fractions into solution concentrations
Coating thickness measurement
- Up to 24 measured variables simultaneously (a measured variable can be a layer thickness or an element concentration)
- Layer thickness and composition can be measured in parallel
- Area measurement mode
Material analysis
- Measuring up to 24 elements simultaneously
- Gold analysis with indication of results in % or carat
- Trace element analysis for RoHS screening
- Automatic material identification
- Simple traffic light display for pass/fail
Qualitative element analysis
- Analysis of unknown bulk materials
- Automatic element identification included
Solution analysis
- Measuring of up to 24 elements simultaneously
- Automatic conversion of mass fractions into solution concentrations


